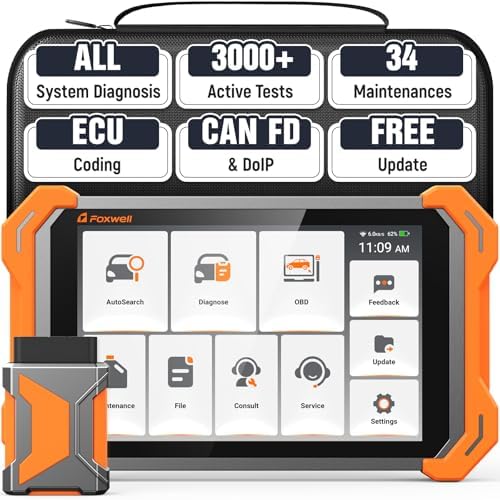
When your check engine light (MIL) turns on, the vehicle has stored at least one diagnostic trouble code (DTC). An OBD2 scanner is the fastest way to read those codes, understand what system flagged the fault, and decide your next step — before spending money on parts you may not need.
Step 1: Connect Your Scanner
Locate the 16-pin OBD2 port under the dashboard, usually left of the steering column. Plug in your TOPDON scanner or TopScan dongle, turn the ignition to ON (engine off unless the tool instructs otherwise), and wait for the tool to link with the ECU. Bluetooth models like TopScan Lite pair through the TOPDON app on your phone.
Step 2: Read and Record Codes
Pull current, pending, and permanent codes when available. Write down the full code (for example, P0301 — Cylinder 1 Misfire) plus freeze frame data: engine RPM, coolant temperature, fuel trim, and vehicle speed at the moment the fault set. That snapshot often points to the real cause faster than the code alone.
Step 3: Research Before Replacing Parts
A DTC identifies the system and monitor that failed — not always the exact part. P0171 (System Too Lean) might be a vacuum leak, weak fuel pump, or dirty MAF sensor. Use live data to compare sensor readings against expected ranges. TOPDON scanners from the AD500 upward add multi-system live data; TopScan Lite includes AI repair suggestions in the app.
When to Clear Codes
Clear codes only after fixing the root cause. Clearing without repair turns the light off temporarily, deletes valuable freeze frame data, and may reset emissions monitors you need for a smog check. After repair, clear codes, drive the vehicle, and re-scan to confirm the fault does not return.
Which TOPDON Tool Do You Need?
Engine-only troubleshooting: AL400 or CarPal US. ABS, SRS, or transmission access: AD500 or ArtiDiag600 Pro. Not sure? Use our Scanner Finder.